
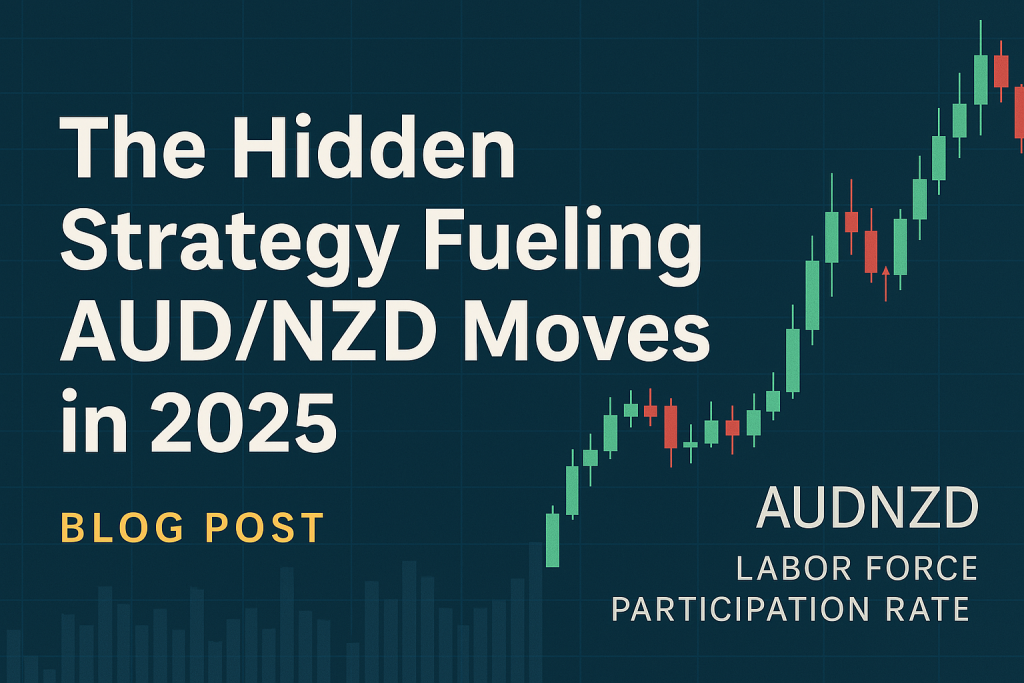
Trading Secrets Behind the Australian Dollar New Zealand Dollar & Labor Force Participation Rate
Why Your Charts Might Be Lying (And What the AUD/NZD Pair Isn’t Telling You)
Let’s face it—if Forex trading were a TV show, most of us would be stuck watching the same rerun: “How I Misread That Economic Indicator for the 17th Time.” But the real plot twist? The relationship between the Australian Dollar New Zealand Dollar currency pair and the labor force participation rate has been quietly rewriting the script—and most traders haven’t even noticed.
In this article, we’re going full detective-mode on an underground strategy that links labor trends with cross-Tasman currency fluctuations. Yes, this is where macroeconomic data meets next-level technical tactics and a touch of good humor (because if you can’t laugh at your trading losses, what can you laugh at?).
When Kangaroos and Kiwis Tango: The Hidden Rhythms of AUD/NZD
On the surface, the Australian Dollar New Zealand Dollar (AUD/NZD) pair looks tame. It’s not as flashy as GBP/JPY or as loud as EUR/USD. But don’t be fooled. This pair is a data-sensitive beast hiding in plain sight. And the labor force participation rate? It’s the heartbeat.
Here’s where it gets interesting: Unlike the unemployment rate, which can be skewed by discouraged workers who simply stop looking for jobs (been there, done that, bought the Netflix subscription), the labor force participation rate (LFPR) digs deeper. It tells us who’s actually in the game, not just sitting on the sidelines.
So, when Australia’s LFPR rises while New Zealand’s stagnates or dips, you’re not just looking at a boring stat—you’re seeing a potential buy signal on the AUD/NZD. This metric reflects structural labor health, economic confidence, and future inflationary pressures. Translation? A goldmine for forward-looking Forex trades.
Labor Force Participation Rate: The Contrarian Metric That Outsmarts the Herd
Why do most traders ignore LFPR? Because it’s not glamorous. It doesn’t scream headlines. It’s the broccoli of economic indicators—essential, but usually pushed aside for the steak (GDP, CPI, or employment change).
But here’s the ninja move: LFPR has a leading effect on wage growth and consumer spending. That’s right, it’s the whisper before the scream. A sharp move in LFPR can hint at:
- Upcoming shifts in RBA or RBNZ tone.
- Increased pressure on central banks to tighten or loosen.
- Repricing of expectations in bond markets.
Pro tip: Set up a calendar watch on both Australia’s and New Zealand’s labor force participation reports. Compare month-over-month and year-over-year changes, and pay attention to demographic-specific trends (e.g., youth participation).
Case Study: February 2024—When Traders Slept Through the Opportunity of the Year
Let’s rewind to February 2024. Australia’s LFPR jumped from 66.6% to 66.9%, while New Zealand’s declined slightly. Most retail traders shrugged. But a few institutional algorithms didn’t.
AUD/NZD shot up by over 120 pips within 48 hours after the announcement—no major central bank changes, no geopolitical shocks. Just raw, structural labor data.
Lesson? Pay attention to the metrics others overlook. As Paul Tudor Jones once said, “The illusion has become real… because most people trade the illusion, not the reality.” LFPR is the reality check we all need.
The Trading Blueprint: How to Use LFPR to Dominate AUD/NZD
Ready to extract real alpha from labor data? Here’s your step-by-step blueprint:
- Track Both Nations’ LFPR Differentials
- Use data from the Australian Bureau of Statistics and Stats NZ.
- Look for divergences, especially when trends oppose each other.
- Overlay with Central Bank Sentiment
- Match LFPR shifts with dovish/hawkish tones from the RBA and RBNZ.
- Rising LFPR + hawkish tone = bullish AUD.
- Apply Technical Filters
- Confirm with RSI divergence or a CCI breakout on the daily chart.
- Use the 20-day VWAP to assess fair value and entry bias.
- Time Entry with Candlestick Confirmation
- Watch for engulfing or pin bar setups after economic data.
- Trade pullbacks rather than breakouts for better risk-reward.
- Set Targets Based on Economic Cycles
- Consider commodity flows (iron ore vs. dairy exports).
- Use Fibonacci extensions tied to major event candles.
Bonus Tip: Layer on sentiment analysis from Twitter and institutional reports. LFPR moves often go under the radar—that’s your edge.
Why Most Traders Get It Wrong (And How You Can Flip the Script)
Many traders fixate on unemployment numbers and miss the bigger story. LFPR gives us a clearer picture of economic engagement and consumer potential. In countries with aging populations like NZ, a slight decline in LFPR can hint at structural economic drag.
Contrarians feast where consensus starves. So instead of chasing lagging indicators, use LFPR to:
- Anticipate rate changes.
- Front-run institutional flows.
- Trade AUD/NZD before the herd catches on.
Hidden Gems in the Data: What to Watch in 2025
Looking ahead, the following trends could unlock rare trading setups:
- Australia’s Labor Market Reform: New policy discussions around workforce flexibility could increase LFPR among part-time workers.
- NZ’s Demographic Shift: As older workers retire, the labor force could shrink faster than anticipated—pushing long-term pressure on NZD.
- Female Participation Rate Surge: This often outpaces total LFPR changes and signals new economic potential.
Keep an eye on:
- Australian Economic Indicators: https://www.abs.gov.au/statistics
- New Zealand Labor Stats: https://www.stats.govt.nz
Insider Insight: What the Pros Know That You Don’t
Here’s what separates elite traders from retail crowds:
- They model LFPR shifts against CPI projections to forecast central bank policy before rate statements.
- They calculate implied forward guidance based on labor trends, not just statements.
- They use LFPR as a lead indicator in high-frequency models for scalping AUD/NZD.
According to Marc Chandler, Managing Director at Bannockburn Global Forex: “Labor force dynamics are the dark matter of macro trading—invisible but incredibly influential.”
Don’t Just Trade. Dominate.
Too often, traders play checkers in a chess world. But when you sync LFPR analysis with cross-currency dynamics and strategic timing, you’re playing 4D chess with laser eyes.
Ready to supercharge your trades?
- Get real-time data updates and under-the-radar insights: Forex News Today
- Master the economic indicators that actually matter: Free Forex Courses
- Gain access to elite trading tools and daily trade alerts: Join Our Community
And if you’re tired of buying indicators that overpromise and underdeliver (like a self-help book for your trading account), use our Smart Trading Tool to calculate lot sizes, monitor orders, and stay three moves ahead.
Strategic Highlights: What You Just Unlocked
- How LFPR acts as a leading indicator for AUD/NZD reversals.
- Why most traders overlook this metric (and how you can exploit that).
- Step-by-step trading blueprint to incorporate LFPR with technical setups.
- Data sources, expert opinions, and institutional frameworks for real alpha.
—————–
Image Credits: Cover image at the top is AI-generated
PLEASE NOTE: This is not trading advice. It is educational content. Markets are influenced by numerous factors, and their reactions can vary each time.

Anne Durrell & Mo
About the Author
Anne Durrell (aka Anne Abouzeid), a former teacher, has a unique talent for transforming complex Forex concepts into something easy, accessible, and even fun. With a blend of humor and in-depth market insight, Anne makes learning about Forex both enlightening and entertaining. She began her trading journey alongside her husband, Mohamed Abouzeid, and they have now been trading full-time for over 12 years.
Anne loves writing and sharing her expertise. For those new to trading, she provides a variety of free forex courses on StarseedFX. If you enjoy the content and want to support her work, consider joining The StarseedFX Community, where you will get daily market insights and trading alerts.
Share This Articles
Recent Articles
The GBP/NZD Magic Trick: How Genetic Algorithms Can Transform Your Forex Strategy
The British Pound-New Zealand Dollar: Genetic Algorithms and the Hidden Forces Shaping Currency Pairs
Chande Momentum Oscillator Hack for AUD/JPY
The Forgotten Momentum Trick That’s Quietly Dominating AUD/JPY Why Most Traders Miss the Signal
Bearish Market Hack HFT Firms Hope You’ll Never Learn
The One Bearish Market Hack High Frequency Traders Don't Want You to Know The
