
The Vortex Indicator & Position Sizing: The Secret Weapons of Pro Traders
Why Most Traders Get It Wrong (And How You Can Avoid It)
Trading without understanding the Vortex Indicator and position sizing is like navigating a jungle with a butter knife—sure, you might get lucky, but you’re more likely to be eaten alive. Many traders blindly throw on positions, hoping for the best, only to watch their accounts evaporate faster than a puddle in the Sahara.
But what if I told you that a lesser-known indicator could give you early signals of trend reversals while proper position sizing keeps you in the game long enough to profit? Let’s dive into the hidden formula only experts use to maximize profits and minimize risk.
The Vortex Indicator: The Overlooked Tool That Calls Market Shifts
What is the Vortex Indicator?
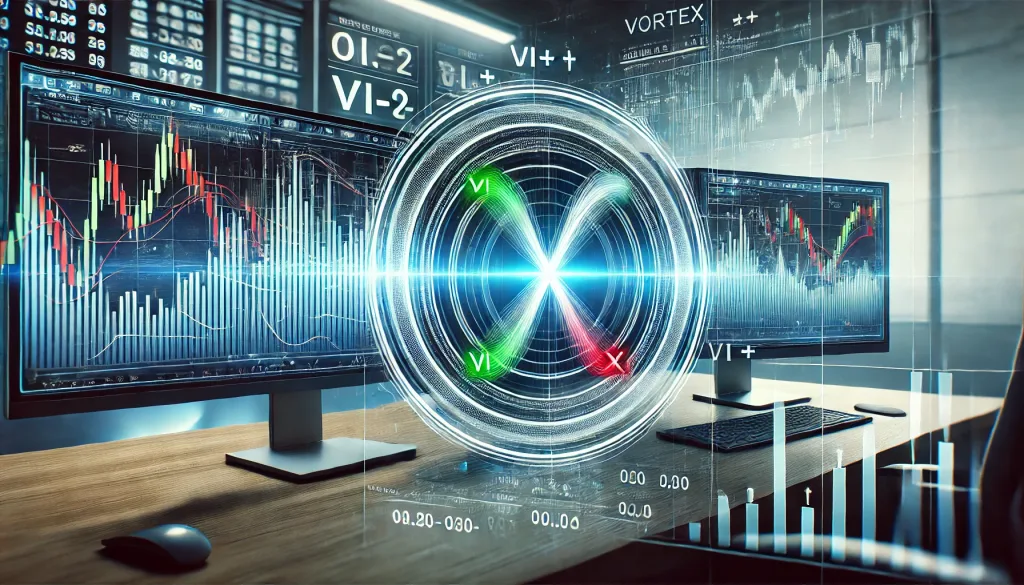
Developed by Etienne Botes and Douglas Siepman, the Vortex Indicator (VI) is one of the most underrated tools in Forex trading. Inspired by the natural flow of water (yes, trading really does imitate life), the VI detects trend strength and reversals using two oscillating lines:
✅ VI+ (Green Line): Measures positive price movement.
✅ VI- (Red Line): Measures negative price movement.
When these two lines cross, it signals a potential shift in market direction. The bigger the gap between them, the stronger the trend.
Why Most Traders Ignore It (And Why You Shouldn’t)
Most traders obsess over RSI, MACD, or Stochastic oscillators while completely overlooking the Vortex Indicator. But here’s the kicker—VI often catches trend shifts before traditional indicators, making it a hidden gem for early trend detection.
???? Bullish Signal: When VI+ crosses above VI-, it’s a buy signal.
???? Bearish Signal: When VI- crosses above VI+, it’s a sell signal.
???? Stronger Trend: The wider the separation, the stronger the trend momentum.
Pro Tip: Combine the Vortex Indicator with a 200-period moving average to confirm trend direction. If VI+ crosses above VI- while price remains above the 200-MA, it’s a high-probability trade.
The Position Sizing Formula That Saves Your Trading Account
Why Position Sizing Matters More Than Your Strategy
Ever heard of a trader who had a winning strategy but still blew up their account? That’s what happens when position sizing is ignored.
Position sizing ensures you risk the right amount per trade, preventing emotional decision-making and keeping your account from bleeding out.
The Golden Rule of Position Sizing: Risk No More Than 1-2% Per Trade
Let’s break it down:
???? Step 1: Determine your risk per trade (e.g., 1% of a $10,000 account = $100 risk per trade).
???? Step 2: Identify your stop-loss in pips (e.g., 50 pips).
???? Step 3: Use the formula:
Lot Size = (Risk per Trade) / (Stop-Loss in Pips x Pip Value)
For example, if you trade EUR/USD, and one pip is worth $10 per standard lot:
???? Lot Size = ($100) / (50 pips x $10) = 0.2 lots
Pro Tip: Use the Smart Trading Tool to automate these calculations and avoid manual mistakes: Check it out here.
Elite Strategy: Combining the Vortex Indicator with Position Sizing
Now, let’s bring these two together for a next-level trading approach:
✅ Step 1: Identify a VI crossover.
✅ Step 2: Confirm the trend with a 200-MA.
✅ Step 3: Determine risk with proper position sizing.
✅ Step 4: Place the trade and manage it using a trailing stop.
By applying this method, you’ll avoid random entries and trade with precision, keeping your losses small and letting winners run.
Final Takeaway: Why This Works
Using the Vortex Indicator for entries and position sizing for risk control creates a bulletproof trading system. Most traders fail because they either enter blindly or risk too much—now you have the blueprint to avoid these costly mistakes.
???? Want more exclusive strategies and real-time Forex insights? Join our StarseedFX community for elite trading tactics: Sign Up Here.
—————–
Image Credits: Cover image at the top is AI-generated
PLEASE NOTE: This is not trading advice. It is educational content. Markets are influenced by numerous factors, and their reactions can vary each time.

Anne Durrell & Mo
About the Author
Anne Durrell (aka Anne Abouzeid), a former teacher, has a unique talent for transforming complex Forex concepts into something easy, accessible, and even fun. With a blend of humor and in-depth market insight, Anne makes learning about Forex both enlightening and entertaining. She began her trading journey alongside her husband, Mohamed Abouzeid, and they have now been trading full-time for over 12 years.
Anne loves writing and sharing her expertise. For those new to trading, she provides a variety of free forex courses on StarseedFX. If you enjoy the content and want to support her work, consider joining The StarseedFX Community, where you will get daily market insights and trading alerts.
Share This Articles
Recent Articles
The GBP/NZD Magic Trick: How Genetic Algorithms Can Transform Your Forex Strategy
The British Pound-New Zealand Dollar: Genetic Algorithms and the Hidden Forces Shaping Currency Pairs
Chande Momentum Oscillator Hack for AUD/JPY
The Forgotten Momentum Trick That’s Quietly Dominating AUD/JPY Why Most Traders Miss the Signal
Bearish Market Hack HFT Firms Hope You’ll Never Learn
The One Bearish Market Hack High Frequency Traders Don't Want You to Know The
