
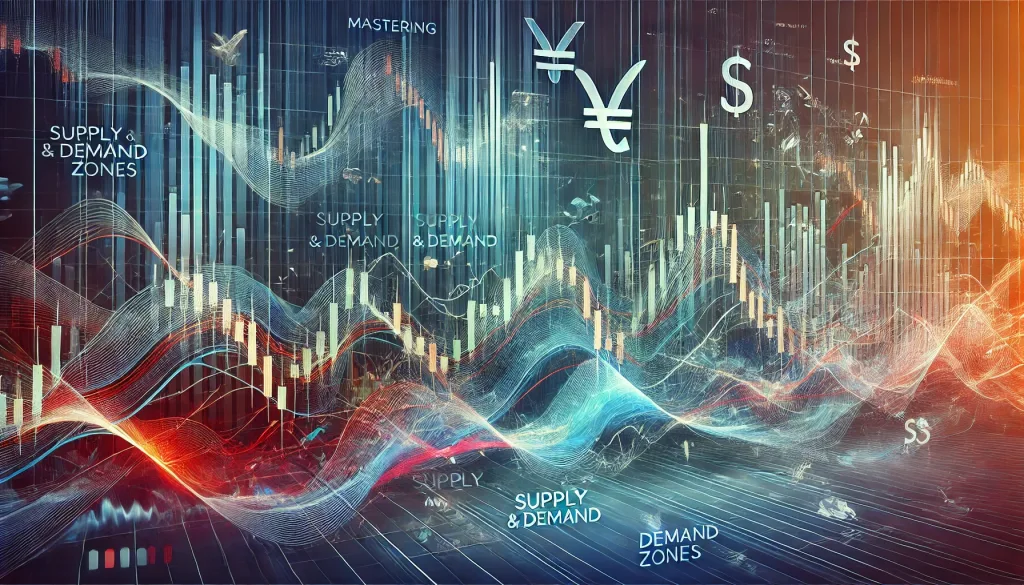
How to Use Supply and Demand Zones to Protect Your Current Account Balance Like a Pro
Trading Forex is like walking a tightrope, where one misstep could send your account balance crashing down faster than a bad blind date. But here’s the thing: it doesn’t have to be that way. If you’re in this game for the long haul, understanding supply and demand zones could be the difference between thriving and merely surviving.
Supply and demand zones are essentially the market’s emotional hotspots—places where buyers and sellers duke it out to set the price. But how do these zones relate to your current account balance? Well, mastering them can give you the strategic edge you need to lock in profits, minimize risks, and keep that balance looking pretty. You might not be able to avoid the occasional slip-up, but with the right insights, you’ll spot the opportunities that others miss and avoid those heart-stopping moments of panic when your account balance takes a nosedive.
The Hidden Power of Supply and Demand Zones: More Than Just Fancy Lingo
Before we dive into the nitty-gritty, let’s take a moment to understand why supply and demand zones are critical. These zones represent areas where price moves with extreme speed because traders, en masse, have decided that something is either too cheap or too expensive.
When you think of supply and demand zones, think of them as real estate in the Forex market. You know, prime real estate—like the hottest coffee shop in town or that quirky little bookstore everyone loves. The price tends to stay in these zones for a while, but once it breaks out, things move fast. Understanding these zones is like having the secret map to the most valuable properties in Forex. It’s not about being in the right place at the right time; it’s about knowing when to move before everyone else does.
Insider Tip: Be the First to Spot the Zone
Here’s a fun fact that most traders overlook: spotting a supply or demand zone before the rest of the market catches on is like getting first dibs on a new iPhone release—except this time, you won’t have to fight a crowd of overzealous fans.
Pro Tip: Use higher time frames, like the 4-hour or daily charts, to spot these zones more clearly. The larger the time frame, the stronger and more reliable the zone tends to be. It’s like trying to find the perfect wave to surf—you want the biggest one, not the tiny ripples that break before they even get started.
The Art of Managing Your Current Account Balance
Let’s talk about the real reason you’re here—your current account balance. The highs are thrilling, the lows… well, they’re a bit like eating stale pizza. That’s where understanding supply and demand zones can make a huge difference. When you enter these zones, you’re entering areas of high volatility—but also high opportunity.
But before you rush in like a trader in a candy shop, here’s the key point: Risk management is everything. You might spot a sweet zone, but if you don’t know how to manage your position size or place stop-loss orders, your account balance will resemble a sinking ship. So, here’s how to keep your account safe while hunting for those sweet supply and demand zones.
Step 1: Understand the Power of Entry Points
The first rule of Forex is: enter the market with a strategy. And nothing works better for that than the clear signals provided by supply and demand zones. These zones act as magnet points—price often retraces to these areas before continuing its trend.
Think of your entry point like that perfect seat at the bar. It’s in the sweet spot, far enough from the door so you’re not bombarded by everyone coming in, but close enough to the bartender for an easy chat (or trade). The key is timing—enter at the zone before the market reacts to it, and your account balance will thank you.
Step 2: Protect Your Current Account Balance with Stop-Losses
You know those heart-in-your-throat moments when your trade is going south, and you’re praying it’ll turn around? Those are the moments where having a stop-loss is a game-changer. Setting a stop-loss just outside the zone (but not too far!) can save you from losing more than you’re comfortable with.
Remember: Forex trading isn’t a gamble. It’s a calculated decision. Don’t let your account balance fall victim to your emotional urges. Use stop-losses to minimize risk, and always know when to walk away.
Step 3: Take Profits Before They Disappear
As much as we all love the thrill of a big trade, never get too greedy. The market is volatile, and if you don’t take profits when the opportunity arises, you might see your gains evaporate faster than a soggy pizza crust. One strategy is to take partial profits when your trade hits a supply or demand zone. That way, you lock in some of your profits while letting the rest ride.
Advanced Insights: Hidden Patterns in Supply and Demand Zones
It’s not all about finding the right zones and calling it a day. Experienced traders know that supply and demand zones aren’t static. These zones can evolve, shift, and even reverse. So, here’s a nugget of wisdom: Pay attention to the market’s reaction within the zone.
Is the price stalling or retracing slightly? That could indicate that the zone is holding strong. If price breaks through with force, well, get ready for a breakout that could launch your profits into the stratosphere.
Quick Hack: Combine supply and demand zones with other tools like Fibonacci retracements to identify areas of confluence—this is where multiple indicators line up, increasing your chances of a successful trade.
Myth-Busting: Why Most Traders Get It Wrong
Here’s the thing that blows most traders’ minds: Supply and demand zones are NOT about predicting the market’s next move. What? That’s right. Predicting is a fool’s game. Supply and demand zones are about managing probabilities. The idea is to look for areas where the market is most likely to reverse, not predict the exact moment it will do so.
A lot of new traders mistakenly think that finding the right supply or demand zone guarantees a winning trade. It doesn’t. You can still lose, but you can also minimize losses and increase your chances of winning. It’s all about setting yourself up for success, like stacking the deck in your favor—without cheating, of course.
Putting It All Together: How to Use Supply and Demand Zones for Massive Success
Now that you’re armed with some next-level knowledge on supply and demand zones, it’s time to take your trading to the next level. Here’s a quick recap of what you’ve learned:
- Spot the Zone Early: Use higher time frames to identify strong zones.
- Use Entry Points Wisely: Time your entries like a pro—don’t rush in without a plan.
- Risk Management is Key: Protect your account balance with stop-losses and proper position sizing.
- Take Profits at the Right Time: Lock in gains before the market has a chance to take them back.
- Look for Patterns: Use price action to identify whether a zone is likely to hold or break.
By mastering these techniques, you’ll be able to weather the ups and downs of the Forex market and keep your account balance looking solid.
Final Thoughts: Supply and Demand Zones—Your Secret Weapon
There’s a reason some traders thrive while others crash and burn—it’s all about having a strategy and sticking to it. With supply and demand zones, you’ve got the map to navigate the Forex jungle, keeping your current account balance safe while you chase profits like a seasoned pro.
Now, go out there, and start trading like you know what you’re doing—because now, you do.
—————–
Image Credits: Cover image at the top is AI-generated
PLEASE NOTE: This is not trading advice. It is educational content. Markets are influenced by numerous factors, and their reactions can vary each time.

Anne Durrell & Mo
About the Author
Anne Durrell (aka Anne Abouzeid), a former teacher, has a unique talent for transforming complex Forex concepts into something easy, accessible, and even fun. With a blend of humor and in-depth market insight, Anne makes learning about Forex both enlightening and entertaining. She began her trading journey alongside her husband, Mohamed Abouzeid, and they have now been trading full-time for over 12 years.
Anne loves writing and sharing her expertise. For those new to trading, she provides a variety of free forex courses on StarseedFX. If you enjoy the content and want to support her work, consider joining The StarseedFX Community, where you will get daily market insights and trading alerts.
Share This Articles
Recent Articles
The GBP/NZD Magic Trick: How Genetic Algorithms Can Transform Your Forex Strategy
The British Pound-New Zealand Dollar: Genetic Algorithms and the Hidden Forces Shaping Currency Pairs
Chande Momentum Oscillator Hack for AUD/JPY
The Forgotten Momentum Trick That’s Quietly Dominating AUD/JPY Why Most Traders Miss the Signal
Bearish Market Hack HFT Firms Hope You’ll Never Learn
The One Bearish Market Hack High Frequency Traders Don't Want You to Know The
