
Supertrend + Supply Zones: The Hidden Strategy Traders Ignore
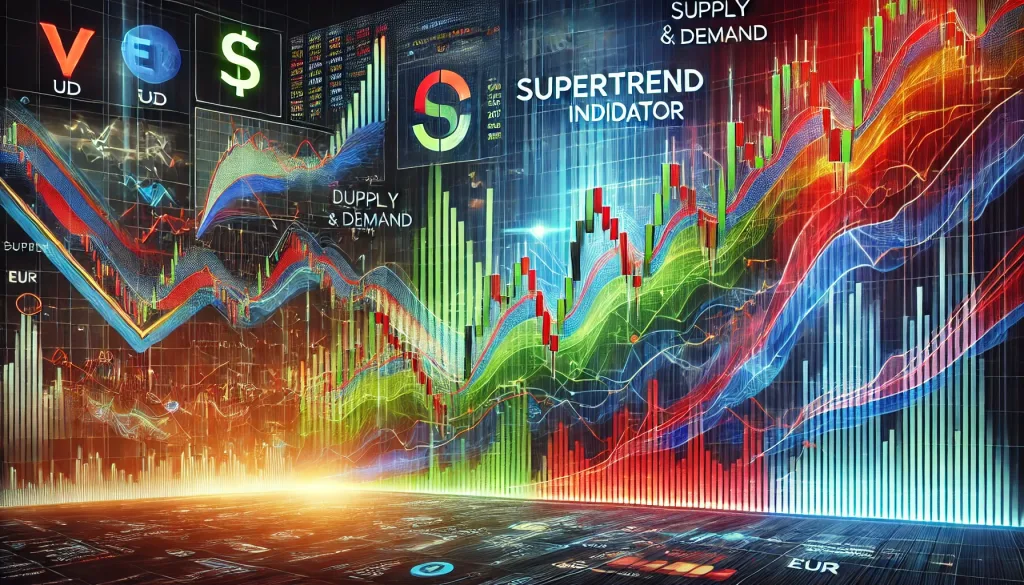
The Hidden Power Duo: Supertrend Indicator Meets Supply and Demand Zones
Trading in the Forex market can sometimes feel like navigating a jungle without a map. But what if I told you there’s a way to not just survive but thrive by combining two powerful tools: the Supertrend indicator and Supply and Demand zones? Together, they form an unstoppable duo, providing precision entries, minimizing risks, and maximizing profits.
In this article, we’ll dive deep into how these two tools work, how to use them effectively, and why most traders are missing out on their true potential.
What Is the Supertrend Indicator, and Why Does It Matter?
The Supertrend indicator is like a GPS for traders, giving you real-time directions on market trends. Based on Average True Range (ATR) and price action, it’s a trend-following tool that adapts to volatility, making it perfect for identifying entry and exit points.
But here’s the kicker: While most traders rely solely on the Supertrend for buy or sell signals, combining it with Supply and Demand zones can unlock a level of precision that few even know exists.
Pro Tip: Think of the Supertrend as your compass and Supply and Demand zones as your landmarks. Together, they’ll lead you to your destination without getting lost in market noise.
Supply and Demand Zones: The Market’s Secret Blueprint
Supply and Demand zones represent areas where institutional traders (a.k.a. the market’s big players) make their moves. These zones are identified by sharp price reversals, leaving behind areas of consolidation that act as price magnets.
- Supply Zone: A region where selling pressure exceeds buying pressure, causing prices to drop.
- Demand Zone: A region where buying pressure exceeds selling pressure, pushing prices higher.
Why are these zones crucial? Because they tell you where the ‘smart money’ is entering or exiting the market. And when paired with the Supertrend, you can pinpoint trades with sniper-like accuracy.
How to Combine the Supertrend Indicator with Supply and Demand Zones
Now let’s talk strategy. Here’s a step-by-step guide to combining these tools for optimal results:
1. Identify Key Supply and Demand Zones
- Use a higher time frame (H4 or Daily) to locate strong Supply and Demand zones.
- Look for areas with sharp price movements followed by consolidation.
2. Apply the Supertrend Indicator
- Add the Supertrend indicator to your chart using a 10-period ATR with a multiplier of 3 (default settings work fine).
- Note whether the indicator shows a bullish or bearish trend.
3. Wait for Confluence
- For a buy setup, wait for the price to enter a Demand zone while the Supertrend turns green (bullish).
- For a sell setup, wait for the price to hit a Supply zone while the Supertrend turns red (bearish).
4. Confirm with Candlestick Patterns
- Look for reversal candlestick patterns (e.g., hammer, engulfing) within the zones to validate your entry.
5. Set Precise Entry, Stop-Loss, and Take-Profit Levels
- Place your entry slightly above (for buys) or below (for sells) the zone boundary.
- Use the Supertrend line as a dynamic stop-loss.
- Set your take-profit based on the next significant zone or a 2:1 risk-reward ratio.
Why This Strategy Works
The beauty of combining the Supertrend with Supply and Demand zones lies in the synergy:
- Precision Entries: Enter trades only when both tools align, avoiding false signals.
- Risk Management: The Supertrend’s ATR-based stop-loss adapts to market volatility.
- Profit Optimization: Targeting key zones ensures high-probability trades.
Real-World Example: EUR/USD Case Study
The Setup:
- Time Frame: H4
- Indicators Used: Supertrend (10,3), Supply and Demand zones
Observation:
- Price enters a strong Demand zone at 1.0800.
- The Supertrend indicator turns green, signaling a bullish trend.
- A bullish engulfing candlestick forms within the zone.
Action Plan:
- Entry: Place a buy order at 1.0820.
- Stop-Loss: 1.0780 (below the Demand zone and Supertrend line).
- Take-Profit: 1.0900 (near the next Supply zone).
Outcome:
- The trade hits the take-profit level, yielding an 80-pip gain with a 2:1 risk-reward ratio.
Common Mistakes Traders Make (And How to Avoid Them)
1. Over-Reliance on Indicators
- Mistake: Relying solely on the Supertrend for signals.
- Solution: Always cross-check with Supply and Demand zones for confluence.
2. Ignoring Higher Time Frames
- Mistake: Trading solely on lower time frames (e.g., M5, M15).
- Solution: Use higher time frames to identify significant zones and validate trends.
3. FOMO (Fear of Missing Out)
- Mistake: Jumping into trades without waiting for confirmation.
- Solution: Practice patience and wait for candlestick patterns to confirm entries.
4. Poor Risk Management
- Mistake: Placing arbitrary stop-loss levels.
- Solution: Use the Supertrend line as a dynamic stop-loss for better accuracy.
Trade Like a Pro
Mastering the Forex market requires more than just following popular indicators. By combining the Supertrend indicator with Supply and Demand zones, you’re leveraging a strategy that’s both powerful and precise. Remember, it’s not about predicting the market but aligning with its movements.
So, are you ready to take your trading game to the next level? Start integrating this strategy into your routine and watch your performance soar.
—————–
Image Credits: Cover image at the top is AI-generated
PLEASE NOTE: This is not trading advice. It is educational content. Markets are influenced by numerous factors, and their reactions can vary each time.

Anne Durrell & Mo
About the Author
Anne Durrell (aka Anne Abouzeid), a former teacher, has a unique talent for transforming complex Forex concepts into something easy, accessible, and even fun. With a blend of humor and in-depth market insight, Anne makes learning about Forex both enlightening and entertaining. She began her trading journey alongside her husband, Mohamed Abouzeid, and they have now been trading full-time for over 12 years.
Anne loves writing and sharing her expertise. For those new to trading, she provides a variety of free forex courses on StarseedFX. If you enjoy the content and want to support her work, consider joining The StarseedFX Community, where you will get daily market insights and trading alerts.
Share This Articles
Recent Articles
The GBP/NZD Magic Trick: How Genetic Algorithms Can Transform Your Forex Strategy
The British Pound-New Zealand Dollar: Genetic Algorithms and the Hidden Forces Shaping Currency Pairs
Chande Momentum Oscillator Hack for AUD/JPY
The Forgotten Momentum Trick That’s Quietly Dominating AUD/JPY Why Most Traders Miss the Signal
Bearish Market Hack HFT Firms Hope You’ll Never Learn
The One Bearish Market Hack High Frequency Traders Don't Want You to Know The
