
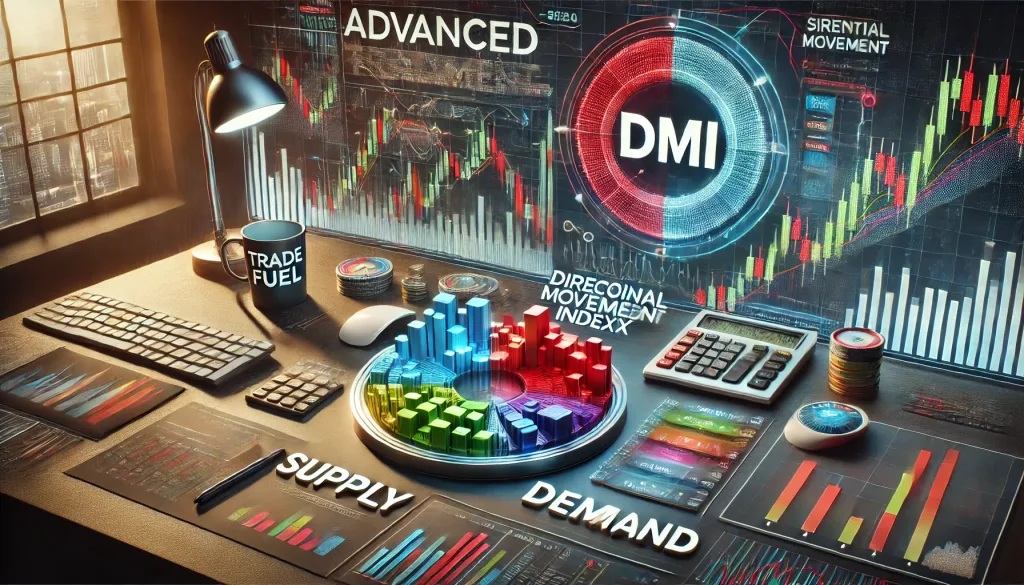
Mastering the Market with Directional Movement Index and Supply & Demand Zones
Why Most Traders Get It Wrong (And How You Can Avoid It)
Ah, the Forex market – a place where fortunes are made, and where more than a few well-intentioned traders have hit the wrong button at exactly the wrong time. It’s like walking into a massive, chaotic marketplace where every seller swears they have the finest goods and every buyer is trying to get a bargain. Today, we’re diving into two powerful tools that could change the way you navigate this mess: the Directional Movement Index (DMI) and Supply & Demand Zones. Grab your digital magnifying glass, because we’re about to uncover some hidden gems that even the pros overlook.
But before we get too far, let’s get real for a second: understanding the mechanics of DMI combined with Supply & Demand Zones is a bit like trying to read a recipe while juggling flaming knives. Done right, it’s impressive and effective. Done wrong, and… well, let’s just say you’ll be left with some pretty hot hands (and not in a good way). Let’s cut through the jargon, get to the meat, and add some spice to your trading strategy.
The Forgotten Power of the Directional Movement Index (DMI)
Most traders have heard of DMI, but let’s be honest – a lot of them only skim the surface before moving on to something that seems shinier. The DMI is part of the beloved Average Directional Index (ADX) family, created by J. Welles Wilder, and helps traders figure out the directional strength of a trend. Imagine it as a compass that not only tells you where to go but how gusty the wind is. Do you need a parachute, or is it smooth sailing?
Here’s where the DMI gets interesting: it has two components – the DI+ and DI-. If these lines cross, you’ve got yourself a potential buy or sell signal, but, and this is the crucial part, just because you get a signal doesn’t mean you should jump in with all your chips. It’s kind of like seeing an empty checkout line at the grocery store – it looks great until you realize there’s a spill in the aisle. Let the market tell you more before committing.
The Magic Combination: Supply & Demand Zones
Supply and Demand Zones are like the secret pizza joint that only a few people know about, but those who do? They can never shut up about how good it is. Why? Because these zones mark the places where buyers and sellers have historically thrown some serious weight around. In other words, Supply Zones are where sellers come out to play (typically at higher price points), and Demand Zones are where buyers pull out the big bucks.
Imagine an auction house where the price of an antique candlestick fluctuates wildly. One minute the auctioneer shouts a price and the room goes quiet – no takers. That’s your Supply Zone. Then, just as the price drops, everyone’s hands shoot up at once – demand kicks in. Recognizing these moments in the Forex market is key.
Why DMI and Supply & Demand Zones Are A Killer Duo
Now, combining the DMI with Supply & Demand Zones? It’s a match made in trader heaven. The DMI tells you if a trend has real strength behind it, while the Supply & Demand Zones reveal if you’re approaching a potential reversal area. Think of it like this: if the DMI is telling you the trend is strong, and you’re just entering a Demand Zone, that’s like having a top chef endorse your secret pizza joint – things are about to heat up.
But Here’s Where The Real Magic Happens…
Here’s a common myth: many believe that Supply & Demand Zones are set in stone. They’re not. They shift as market sentiment shifts. When you apply the DMI, you get an extra layer of validation. You’re no longer just guessing if buyers will step in; you’re aligning with the market’s real direction.
Picture yourself as the weather reporter standing in the middle of a hurricane. Your DMI is the hurricane wind gauge, and the Supply & Demand Zones are the townspeople stocking up on supplies. If they’re battening down the hatches, it’s time for you to adjust your game plan. This insight helps you avoid jumping in just as the storm ends.
Proven Ninja Tactics for Combining DMI & Supply and Demand
Alright, time to move from the theoretical to the practical. You’re standing in front of your trading terminal, and you see that the DI+ is climbing, the DI- is falling, and the price has entered a Demand Zone. Here’s your next move:
- Confirm Trend Strength with ADX: Check if the ADX value is above 20-25. If so, the trend is strong enough to trust, but keep your risk low in case the market mood swings. Think of it as dipping your toes before doing a cannonball.
- Look for Confluence Signals: Ideally, you want other indicators lining up too. Is there a bullish candlestick pattern forming? If yes, now you’re cooking with gas. The more alignment, the stronger your case.
- Set Tight Stop-Losses: Supply and Demand Zones are notoriously fickle. Price can and will fake out sometimes. Set a stop-loss just below the zone to minimize the damage. It’s like dating someone with a questionable past – proceed with optimism but protect your heart (or, in this case, your wallet).
Contrarian Wisdom: Why You Shouldn’t Always Trust Popular Trends
Everyone’s heard the mantra “The trend is your friend until it bends.” Let me give you a contrarian twist: sometimes, the trend is just a lying frenemy. DMI is fantastic, but it’s not gospel. Use it to get the gist of what’s happening, but watch those zones for signs of exhaustion. You don’t want to be that trader holding onto a trend that’s already gasping for air. Remember that bad sitcom plot twist? Don’t let your trade turn into that.
Elite Insight: Uncovering the Hidden Patterns
Look for accumulation in Demand Zones when the DMI is giving mixed signals. This shows potential whale activity – big players accumulating while the market is on edge. You might not see this in textbook examples, but in real-world trading, these subtle cues are often the hidden gems.
Wrapping It Up: DMI and Supply & Demand Done Right
Using the Directional Movement Index and Supply & Demand Zones in tandem isn’t just a powerful trading strategy – it’s a glimpse behind the curtain into how the market really works. Are you going to get it right every time? Absolutely not. But neither does the pizza chef who occasionally burns the crust. The key is to refine, adapt, and know when to make a move.
I invite you to reflect on these tactics and think about how you can apply them in your own trading. Have you ever found yourself misreading a Supply Zone, only to see price skyrocket in the other direction? Share your stories below – let’s trade a few laughs along with some wisdom!
—————–
Image Credits: Cover image at the top is AI-generated
PLEASE NOTE: This is not trading advice. It is educational content. Markets are influenced by numerous factors, and their reactions can vary each time.

Anne Durrell & Mo
About the Author
Anne Durrell (aka Anne Abouzeid), a former teacher, has a unique talent for transforming complex Forex concepts into something easy, accessible, and even fun. With a blend of humor and in-depth market insight, Anne makes learning about Forex both enlightening and entertaining. She began her trading journey alongside her husband, Mohamed Abouzeid, and they have now been trading full-time for over 12 years.
Anne loves writing and sharing her expertise. For those new to trading, she provides a variety of free forex courses on StarseedFX. If you enjoy the content and want to support her work, consider joining The StarseedFX Community, where you will get daily market insights and trading alerts.
Share This Articles
Recent Articles
The GBP/NZD Magic Trick: How Genetic Algorithms Can Transform Your Forex Strategy
The British Pound-New Zealand Dollar: Genetic Algorithms and the Hidden Forces Shaping Currency Pairs
Chande Momentum Oscillator Hack for AUD/JPY
The Forgotten Momentum Trick That’s Quietly Dominating AUD/JPY Why Most Traders Miss the Signal
Bearish Market Hack HFT Firms Hope You’ll Never Learn
The One Bearish Market Hack High Frequency Traders Don't Want You to Know The
