
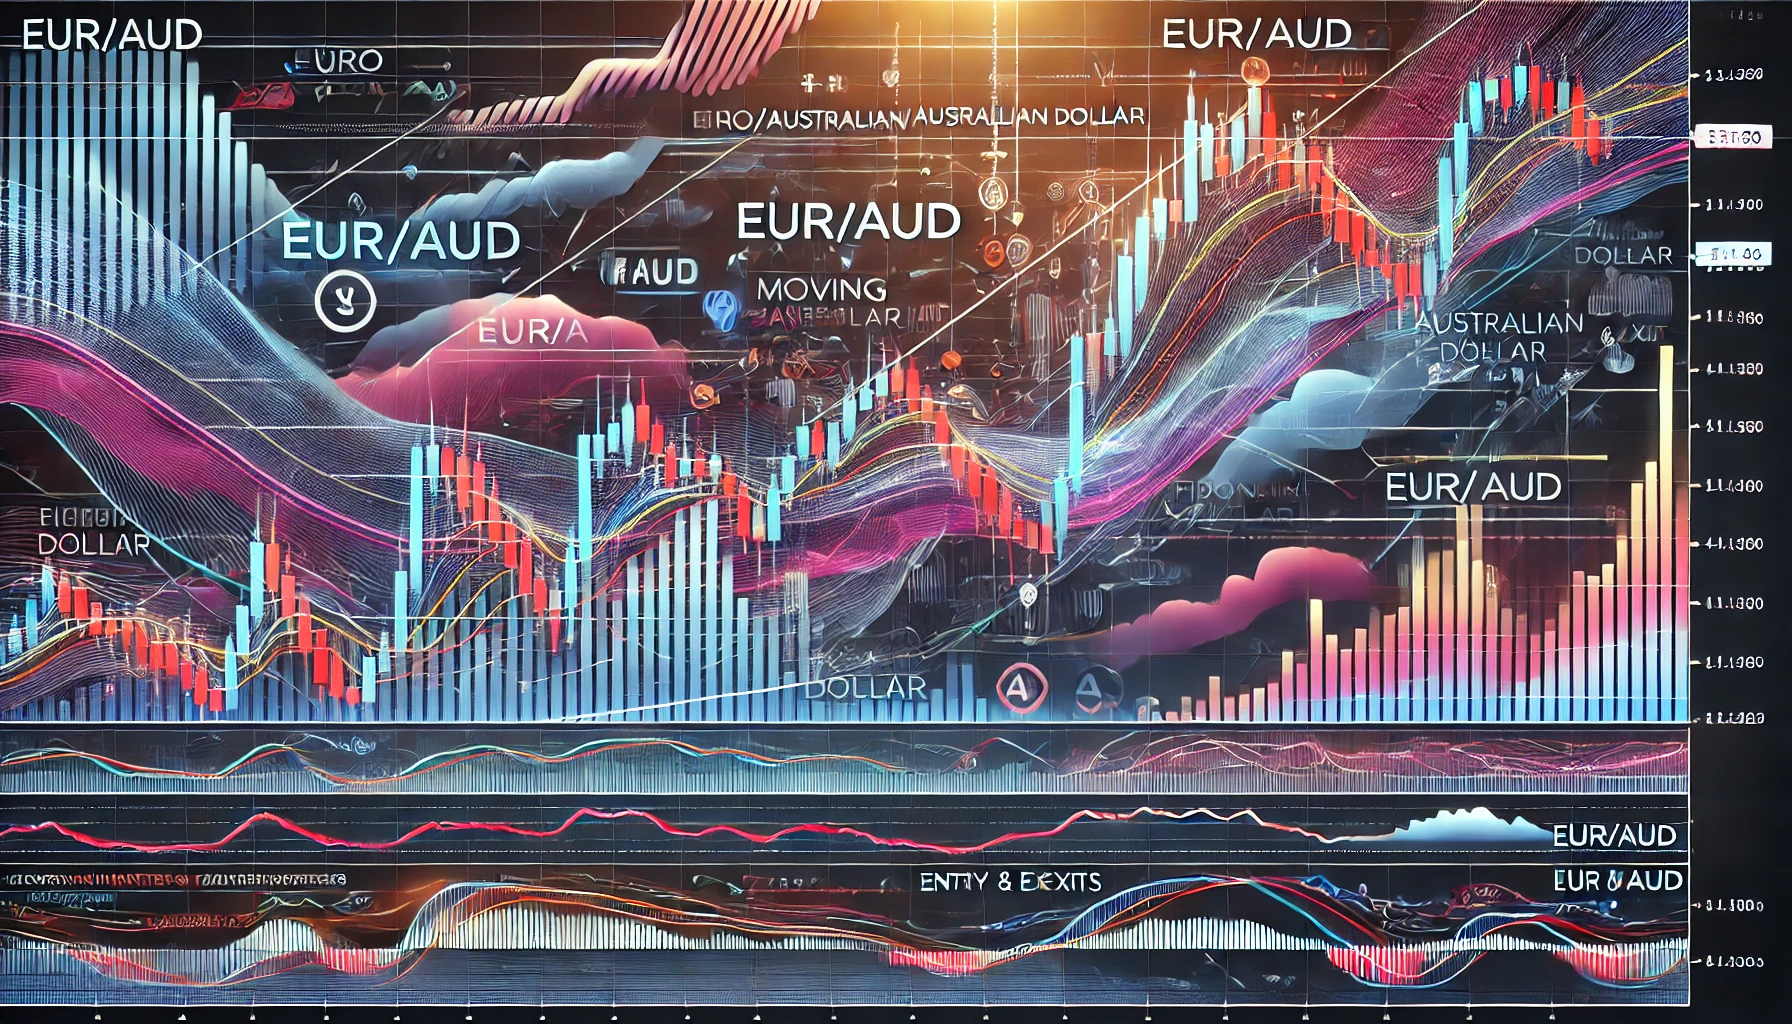
Mastering the Euro/Australian Dollar on the 4-Hour Timeframe
Why the Euro/Australian Dollar Is Your Next Big Opportunity
Imagine this: You’re sitting in your favorite coffee shop, sipping on an overpriced latte, while the Euro/Australian Dollar (EUR/AUD) quietly sets up for a trade that could make your day. You’re not chasing the market like a dog after a frisbee, but instead, you’re calmly analyzing a pair that moves like a slow-but-steady train. That’s the beauty of EUR/AUD—it’s stable, consistent, and offers you more opportunities to profit if you play your cards right.
The key to maximizing your success with EUR/AUD is using the 4-Hour Timeframe. Unlike those fast-paced traders who live and die by the 1-minute charts (bless their hearts), you’re operating like a seasoned pro who knows how to wait for the perfect setup. The 4-hour timeframe gives you a sweet spot between the chaos of the short timeframes and the commitment of the daily charts. It’s like finding the middle ground between the sprint and the marathon.
So, what’s so great about EUR/AUD? Let’s break it down:
- Lower Volatility: This pair typically shows less volatility than other currency pairs, making it ideal for controlled risk.
- Clear Trend Direction: On the 4-hour timeframe, you’ll spot trends that give you an edge. You won’t be chasing every little wiggle in the market.
- Predictable Moves: EUR/AUD often follows clear, strong moves over several hours or days, meaning you can confidently place trades based on technical analysis.
Using the 4-Hour Timeframe Like a Pro
If you’re used to quick, short-term trades, shifting to the 4-hour timeframe can feel like moving from a busy highway to a scenic road trip. You’re no longer in a rush to make decisions—patience is key. On this timeframe, you’re working with larger price swings, which means there’s more room for your trades to develop.
Why Use the 4-Hour Timeframe?
- Trend Confirmation: On the 4-hour chart, you can confirm trends that may not be visible on shorter timeframes. It’s like using a magnifying glass to zoom in on key price movements.
- Clear Entry and Exit Points: With fewer price fluctuations than shorter timeframes, it’s easier to identify solid entry points, making your risk-to-reward ratio more favorable.
- Longer Holding Time: You won’t have to baby-sit your trades as often. You can let them develop over a few hours or even days.
But here’s the secret sauce: patience and discipline. The 4-hour chart isn’t about jumping in and out every few minutes; it’s about letting the market come to you.
How to Find High-Probability Setups on EUR/AUD Using the 4-Hour Chart
Finding profitable setups on EUR/AUD using the 4-hour timeframe doesn’t require you to be a wizard—just a little patience and a solid strategy. So let’s talk tactics.
Step 1: Identify the Trend
Before you even think about entering a trade, you need to identify the trend. EUR/AUD tends to trend more strongly over the medium term, so here’s how you can spot the trend:
- Use Trendlines: Draw trendlines on the 4-hour chart to spot clear upward or downward trends. These will help you define the trend’s direction.
- Moving Averages: Utilize the 50-period and 200-period moving averages. When the price is above both, you’re likely in an uptrend. If it’s below both, you’re in a downtrend.
- Trend Confirmation Indicators: Tools like the MACD or RSI can help confirm the strength of the trend. Look for a bullish crossover or overbought/oversold signals.
Step 2: Spot Potential Reversals
While trending moves are great, the market also loves to revert to certain levels. The 4-hour timeframe is perfect for spotting these reversals, which can be short-term opportunities within longer trends.
- Support and Resistance: Draw support and resistance levels where the price has bounced or reversed previously.
- Fibonacci Retracements: Use Fibonacci retracement levels to spot where the price might pull back before continuing its trend. Look for pullbacks to the 38.2%, 50%, or 61.8% levels.
Step 3: Enter with Confidence
Once you’ve spotted your trend and reversal levels, it’s time to make your move. But remember, patience is still key. Wait for confirmation before pulling the trigger.
- Wait for the Candle Close: Make sure your candlestick closes in the direction of your trade before entering. Don’t jump in halfway through the candle—let it close, confirming the move.
- Risk Management: As always, ensure your stop-loss is placed at a reasonable level to protect your capital, and set your take-profit target based on the recent support/resistance levels or Fibonacci extension.
Real-World Example: EUR/AUD and the 4-Hour Timeframe
Let’s take a real-world scenario. In early 2023, EUR/AUD showed a clear upward trend on the 4-hour timeframe. The pair moved from 1.4800 to 1.5200 in a matter of days. Here’s how you could’ve capitalized on this:
- Trend Identification: On the 4-hour chart, you saw the price above both the 50-period and 200-period moving averages, confirming the uptrend.
- Retracement: The price pulled back to the 50% Fibonacci level at around 1.4900—perfect for a buy entry.
- Trade Execution: After a bullish candlestick pattern formed at the 50% retracement level, you entered the trade with a stop-loss just below the previous support at 1.4850 and a take-profit at 1.5200 (resistance).
The result? The price continued upward, hitting your take-profit target, all within the span of a few days.
Conclusion: Mastering EUR/AUD on the 4-Hour Timeframe
Incorporating the 4-hour timeframe into your Forex strategy allows you to ride the Euro/Australian Dollar trend like a pro. It offers you the perfect balance of trend-following and reversal opportunities, with plenty of room for price movement without the crazy volatility of the shorter timeframes.
By identifying trends, spotting reversals, and using risk management, you’ll be able to enter trades with confidence and take advantage of EUR/AUD’s price action. And let’s face it—when you can trade smartly and avoid chasing every price tick, you’ll be living the dream.
—————–
Image Credits: Cover image at the top is AI-generated
PLEASE NOTE: This is not trading advice. It is educational content. Markets are influenced by numerous factors, and their reactions can vary each time.

Anne Durrell & Mo
About the Author
Anne Durrell (aka Anne Abouzeid), a former teacher, has a unique talent for transforming complex Forex concepts into something easy, accessible, and even fun. With a blend of humor and in-depth market insight, Anne makes learning about Forex both enlightening and entertaining. She began her trading journey alongside her husband, Mohamed Abouzeid, and they have now been trading full-time for over 12 years.
Anne loves writing and sharing her expertise. For those new to trading, she provides a variety of free forex courses on StarseedFX. If you enjoy the content and want to support her work, consider joining The StarseedFX Community, where you will get daily market insights and trading alerts.
Share This Articles
Recent Articles
The GBP/NZD Magic Trick: How Genetic Algorithms Can Transform Your Forex Strategy
The British Pound-New Zealand Dollar: Genetic Algorithms and the Hidden Forces Shaping Currency Pairs
Chande Momentum Oscillator Hack for AUD/JPY
The Forgotten Momentum Trick That’s Quietly Dominating AUD/JPY Why Most Traders Miss the Signal
Bearish Market Hack HFT Firms Hope You’ll Never Learn
The One Bearish Market Hack High Frequency Traders Don't Want You to Know The
