
The Hidden “Cup and Handle” Strategy That Could Change How You Trade EUR/CHF Forever
Why Most Traders Ignore the “Cup and Handle”—And Why That’s a Huge Mistake
Imagine walking into a coffee shop, ordering your favorite cappuccino, and then staring at your cup, daydreaming about price patterns. If that’s not your usual routine, it should be—because the “Cup and Handle” pattern could be the underground trading strategy you’ve been missing.
But here’s the twist: While most traders fixate on breakouts and trend reversals, they overlook the hidden goldmine within EUR/CHF’s Cup and Handle formations. And that’s where the pros step in.
The “Cup and Handle”—A Quick Breakdown
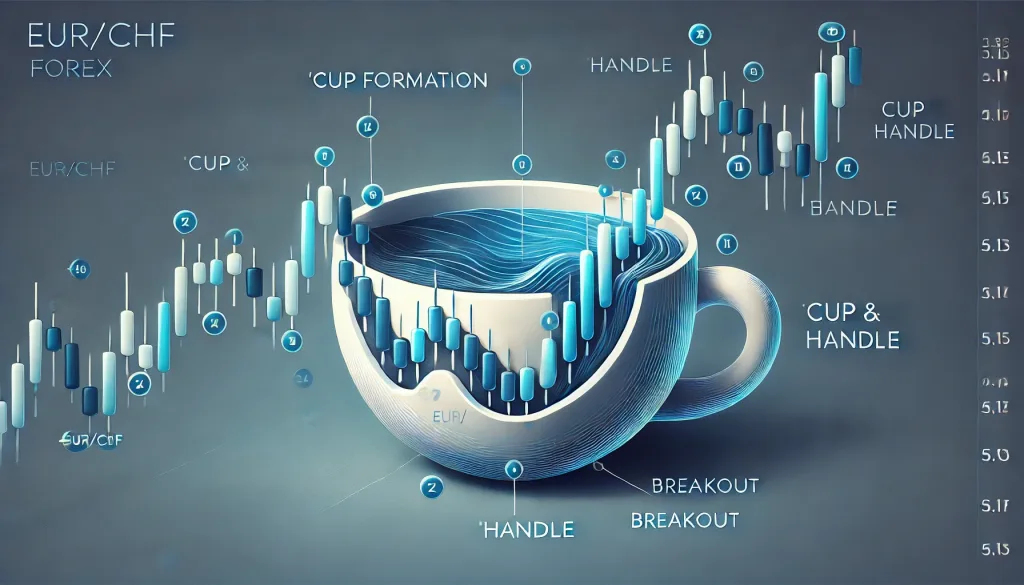
For those unfamiliar, the Cup and Handle pattern is a bullish continuation pattern identified by:
- A rounded bottom (the cup) indicating a slow accumulation phase.
- A slight pullback (the handle) as weak hands exit before the real move.
- A breakout above resistance, often leading to a strong rally.
But the real secret? EUR/CHF has been historically prone to forming this pattern in highly liquid market conditions. Let’s break it down step by step.
Why EUR/CHF is the Ideal Pair for This Setup
The Swiss Franc (CHF) is notorious for its role as a safe-haven currency, and when paired against the Euro, it creates liquidity-rich environments perfect for structured patterns like the Cup and Handle.
Three reasons EUR/CHF traders should care:
- Strong Central Bank Influence: The SNB (Swiss National Bank) actively intervenes in the market, often causing gradual price recoveries (aka “cups”).
- Tight Liquidity Zones: EUR/CHF’s nature of slow-moving consolidation makes it an ideal playground for forming a textbook Cup and Handle pattern.
- Institutional Footprint: Large players (hedge funds and banks) love to accumulate positions in this pair, meaning that once the breakout happens, it really happens.
How to Spot EUR/CHF’s Cup and Handle Before Everyone Else
Most traders react to the pattern after the breakout—when the train has already left the station. But what if you could identify the setup early and enter before the crowd? Here’s the playbook:
Step 1: Identify the Formation
- Look for a gradual rounding bottom on the 4H or Daily chart.
- Ensure the right-side of the cup is at least equal to or slightly higher than the left.
- Spot a low-volume pullback forming the handle.
Step 2: Confirm with Smart Volume Analysis
- High volume on the cup’s right side = Institutional accumulation.
- Decreasing volume on the handle = Weak hands shaking out.
- Sudden volume spike near resistance = Breakout confirmation.
Step 3: Wait for the Breakout—But Not Like a Rookie
- Don’t chase price the second it breaks out.
- Instead, place limit orders near the breakout zone, waiting for a small pullback.
- Use a 20-period EMA retest as an entry trigger for added precision.
The Underground Techniques That Make This Work Even Better
You didn’t come here for basic strategies, so let’s dig into the ninja-level tactics:
1. Use a Fibonacci Confluence for Maximum Confidence
- Overlay Fibonacci retracements from the cup’s low to the high before the handle.
- If the handle aligns with the 38.2% or 50% retracement level, it’s an ultra-strong setup.
2. Monitor SNB Activity for Hidden Clues
- The Swiss National Bank is known for surprise interventions.
- Follow their statements closely because if they hint at monetary policy shifts, your Cup and Handle breakout could turn into a moonshot.
3. Add an RSI Confirmation for Bulletproof Entries
- If RSI is between 50-55 during the handle, it signals low selling pressure—perfect for a breakout.
- If RSI spikes past 60 at the breakout, it confirms strong buying momentum.
Case Study: The EUR/CHF Cup and Handle That Printed a 400-Pip Rally
Back in June 2023, EUR/CHF traders witnessed a textbook Cup and Handle pattern.
- Entry Point: A breakout past 0.9750.
- Target: 1.0150 (previous key resistance).
- Outcome: A +400 pip rally in 3 weeks.
Why did it work?
- Volume confirmed institutional buying.
- The breakout aligned with a dovish SNB policy shift.
- RSI and Fibonacci levels were in sync.
How to Maximize Gains While Minimizing Risk
Now that you know how to master the EUR/CHF Cup and Handle, let’s talk about risk.
- Stop-Loss Placement: Below the handle’s low (avoid tight stops!).
- Take-Profit Zones: First target at measured move projection, second target at previous swing highs.
- Scaling Out: Exit 50% of the trade at first resistance, and let the rest ride with a trailing stop.
Final Thoughts: The Cup That Keeps Pouring Profits
Most traders miss the Cup and Handle because they only look at generic Forex setups. But EUR/CHF thrives on this structure—if you can spot it early, you’ll consistently be one step ahead of the herd.
Want to refine your entries and master institutional-grade setups? Join our community for real-time trade alerts, exclusive insights, and elite tactics at StarseedFX.
—————–
Image Credits: Cover image at the top is AI-generated
PLEASE NOTE: This is not trading advice. It is educational content. Markets are influenced by numerous factors, and their reactions can vary each time.

Anne Durrell & Mo
About the Author
Anne Durrell (aka Anne Abouzeid), a former teacher, has a unique talent for transforming complex Forex concepts into something easy, accessible, and even fun. With a blend of humor and in-depth market insight, Anne makes learning about Forex both enlightening and entertaining. She began her trading journey alongside her husband, Mohamed Abouzeid, and they have now been trading full-time for over 12 years.
Anne loves writing and sharing her expertise. For those new to trading, she provides a variety of free forex courses on StarseedFX. If you enjoy the content and want to support her work, consider joining The StarseedFX Community, where you will get daily market insights and trading alerts.
Share This Articles
Recent Articles
The GBP/NZD Magic Trick: How Genetic Algorithms Can Transform Your Forex Strategy
The British Pound-New Zealand Dollar: Genetic Algorithms and the Hidden Forces Shaping Currency Pairs
Chande Momentum Oscillator Hack for AUD/JPY
The Forgotten Momentum Trick That’s Quietly Dominating AUD/JPY Why Most Traders Miss the Signal
Bearish Market Hack HFT Firms Hope You’ll Never Learn
The One Bearish Market Hack High Frequency Traders Don't Want You to Know The
