
Mastering the Vortex Indicator and Supply Zones for Forex Success
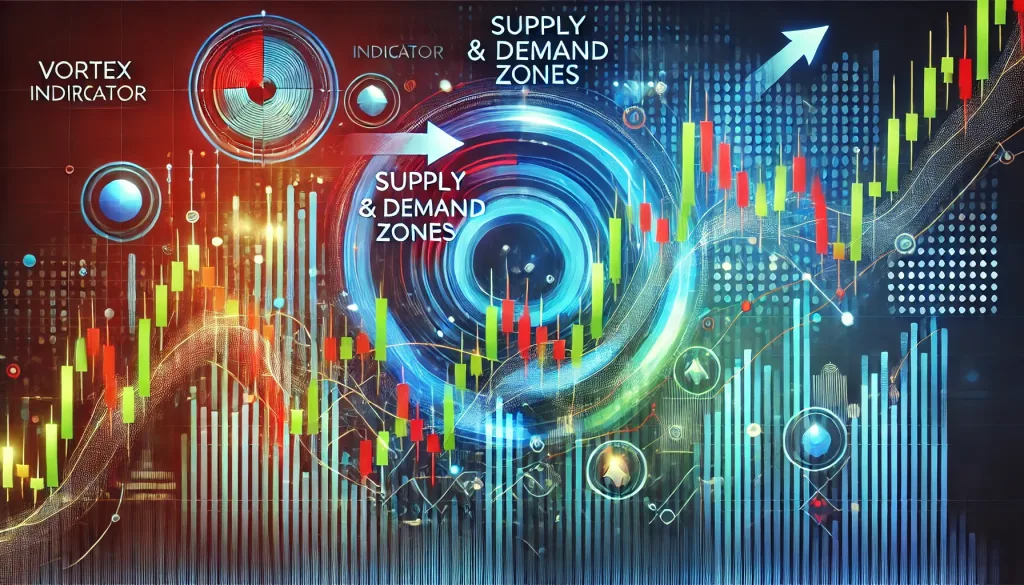
Mastering the Vortex Indicator and Supply & Demand Zones: Forex’s Hidden Power Tools
Have you ever tried to solve a puzzle with just one piece? Yeah, it doesn’t really work. Forex trading is much the same way—without a full toolkit, you’re basically staring at a pile of mismatched pieces. Today, we’re bringing two powerful pieces into play: the vortex indicator and supply and demand zones. These tools are like the peanut butter and jelly of advanced Forex trading, making each other more effective when combined.
If you’re tired of staring at charts, trying to figure out if that candlestick is whispering sweet nothings or ready to throw your portfolio off a cliff, buckle in. The vortex indicator paired with supply and demand zones might just be what turns your trading from a guessing game into a strategic masterclass.
What Exactly is the Vortex Indicator? (No, It’s Not a Fancy Sci-Fi Gadget)
The vortex indicator (VI) sounds a bit like something you’d use to create a black hole, but in reality, it’s a trend-following indicator designed to help traders catch trends early. Think of it as a compass, pointing you towards the path of least resistance—a direction where the market is likely to keep moving.
VI is based on two lines: the positive trend line (VI+) and the negative trend line (VI-). When VI+ crosses above VI-, it’s time to think about buying. When VI- takes the lead, it’s all about considering shorts. It’s almost like watching two friends race—the one in front gives you a clue as to which way to bet.
The magic happens when you combine this indicator with other concepts, and that’s where supply and demand zones come in. These zones tell you where big institutional money is lurking, ready to turn the market in their favor.
Supply and Demand Zones: Where the Big Players Hang Out
Imagine being at an auction, and just when things are heating up, a mysterious billionaire raises their paddle, and suddenly the whole room goes quiet. That’s basically what supply and demand zones are—the levels where the big money comes in and changes the direction of price. Supply zones are where price has been rejected before (the seller’s domain), while demand zones are where buyers have historically stepped in with force.
Combining these zones with the vortex indicator gives you a deadly combination for trading. It’s like being in on a secret—you know where the whales are playing and whether the current trend is legit or about to end.
How to Use the Vortex Indicator in Supply and Demand Zones for Maximum Impact
Let’s get into the nitty-gritty. If you’re going to combine these two powerhouses, you need to do it right.
1. Finding the Perfect Confluence
The first thing you need to do is identify supply and demand zones on your chart. Use larger time frames—like daily or weekly—to see where major turning points have occurred. These zones act like invisible walls where price bounces off repeatedly.
Once you have your zones, use the vortex indicator to get an idea of the current trend’s strength. Say you’ve got a demand zone coming up, and your VI+ line crosses above the VI- line. That’s your signal to watch for bullish price action—buyers are about to flex their muscles. It’s like knowing the best time to get in line before the doors open on Black Friday—you want to be ahead of the crowd.
2. Timing Your Entry
Supply and demand zones often work best when price moves into them with conviction, but then loses steam. Use the vortex indicator to time this transition—when you see a cross in the vortex lines that coincides with price hitting a supply or demand zone, it’s time to get serious. If price moves into a demand zone, for instance, and the VI+ crosses up, that’s your cue to consider a long position.
It’s like a comedy duo—when both partners hit their cues perfectly, the punchline is a success. Your punchline here is a well-timed trade.
3. Filtering Out False Signals
We all hate false signals—they’re like those too-good-to-be-true deals that end up costing you more in the long run. One of the biggest advantages of combining the vortex indicator with supply and demand zones is that it helps to filter these out.
Price hitting a supply zone but no confirmation from the vortex? Probably not the time to take that short position. Both indicators need to agree for you to make your move. Think of this as a double-check before you leap—because no one wants to be the guy who leaps without looking.
The Hidden Patterns Most Traders Miss
There’s a reason why the vortex indicator and supply/demand zones aren’t super common in beginner trading strategies: they require a bit more finesse. Most traders are happy chasing every flashing signal like a cat chasing a laser pointer. You’re better than that.
Emerging Trends and Where the Vortex Helps
The vortex indicator is particularly good at catching emerging trends before they become obvious. Say the market has been consolidating for weeks, and you’ve been eyeing a demand zone. The moment the vortex indicator lines cross in favor of a bullish trend right at that demand zone, you know the buyers are gearing up for a move.
This strategy works especially well in Forex because the market often moves between supply and demand levels, and getting in at the right time can make a significant difference in profit potential. The vortex indicator becomes your magnifying glass—highlighting what’s brewing beneath the surface.
Real-World Example: Trading EUR/USD with the Vortex Indicator and Supply Zones
Let’s say you’re trading EUR/USD, and you’ve identified a significant supply zone around 1.1200 from previous price action. Price approaches this zone with upward momentum, but just as it gets there, the VI- crosses above the VI+. That’s your red flag—the sellers are about to show up.
You wait, and just as the price action shows weakness (like wicks forming at the top of candles in the supply zone), you enter a short position. Your stop-loss goes above the supply zone, and your target is set at a previous demand level.
This trade setup is clean, strategic, and doesn’t rely on the whims of pure guesswork. It’s like playing chess—you’re thinking several moves ahead rather than reacting to every random piece that gets shifted.
Tips for Using the Vortex Indicator and Supply & Demand Zones
- Look for Confluence: Always look for multiple confirmations before taking a trade. Supply or demand zones combined with a clear vortex crossover signal provide a higher probability setup.
- Use on Higher Time Frames: While the vortex indicator can work on lower time frames, the strongest signals come from daily and weekly charts. Think of it like baking a cake—the longer you let it bake, the richer the flavor. The same principle applies here; more data means stronger signals.
- Avoid Overcomplicating: Keep your charts clean. It’s tempting to pile on a dozen indicators, but the magic of this strategy lies in its simplicity. The vortex indicator and supply and demand zones are powerful enough without the clutter.
Common Mistakes Traders Make
- Overtrading Signals: Just because the vortex indicator gives a signal doesn’t mean it’s worth taking. Always look for supply and demand context.
- Ignoring Market Context: A vortex crossover during major news releases might mean nothing more than short-term chaos. Be aware of the bigger picture.
- Setting Stops Too Tight: Supply and demand zones are not exact lines; they are regions. Give your trade some breathing room beyond the zone to avoid being wicked out.
The vortex indicator and supply/demand zones are a dynamic duo, like Batman and Robin—they work great alone, but they’re unbeatable together. By mastering the subtle cues from the vortex indicator and overlaying them with the supply and demand zones, you’ll elevate your trading game to the next level.
Trading is all about stacking probabilities in your favor, and with these two tools, you’re not just stacking—you’re piling them high like an all-you-can-eat buffet of opportunity. If you’re ready to start using this powerful combination, why not practice with a detailed trading plan from StarseedFX and make every move count?
—————–
Image Credits: Cover image at the top is AI-generated
PLEASE NOTE: This is not trading advice. It is educational content. Markets are influenced by numerous factors, and their reactions can vary each time.

Anne Durrell & Mo
About the Author
Anne Durrell (aka Anne Abouzeid), a former teacher, has a unique talent for transforming complex Forex concepts into something easy, accessible, and even fun. With a blend of humor and in-depth market insight, Anne makes learning about Forex both enlightening and entertaining. She began her trading journey alongside her husband, Mohamed Abouzeid, and they have now been trading full-time for over 12 years.
Anne loves writing and sharing her expertise. For those new to trading, she provides a variety of free forex courses on StarseedFX. If you enjoy the content and want to support her work, consider joining The StarseedFX Community, where you will get daily market insights and trading alerts.
Share This Articles
Recent Articles
The GBP/NZD Magic Trick: How Genetic Algorithms Can Transform Your Forex Strategy
The British Pound-New Zealand Dollar: Genetic Algorithms and the Hidden Forces Shaping Currency Pairs
Chande Momentum Oscillator Hack for AUD/JPY
The Forgotten Momentum Trick That’s Quietly Dominating AUD/JPY Why Most Traders Miss the Signal
Bearish Market Hack HFT Firms Hope You’ll Never Learn
The One Bearish Market Hack High Frequency Traders Don't Want You to Know The
